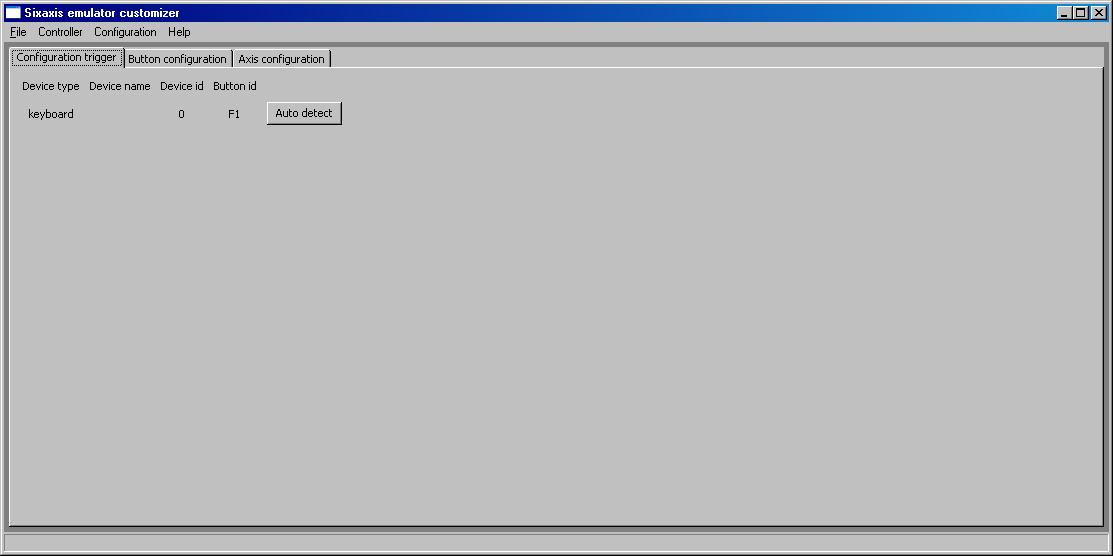
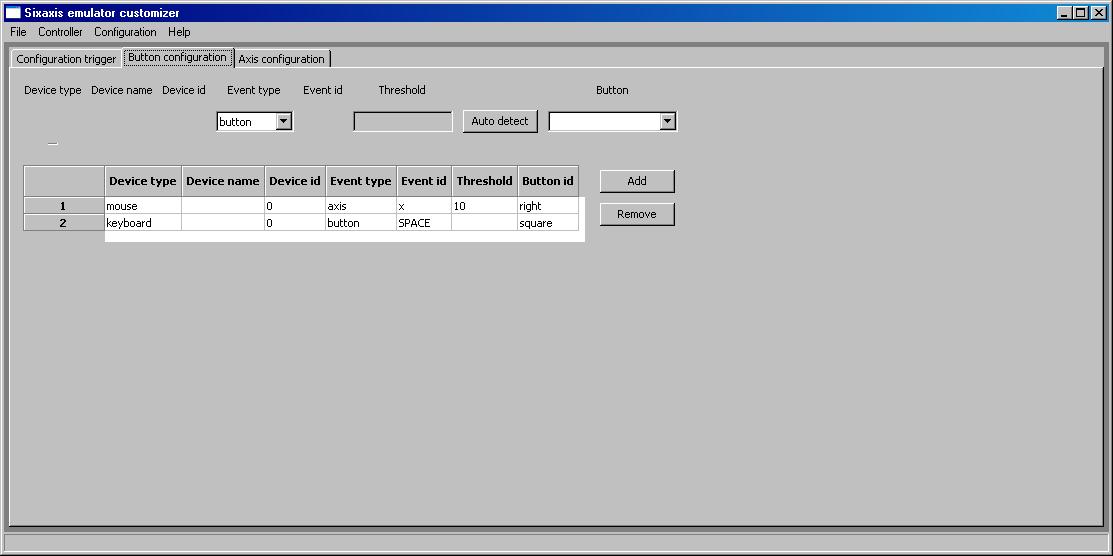
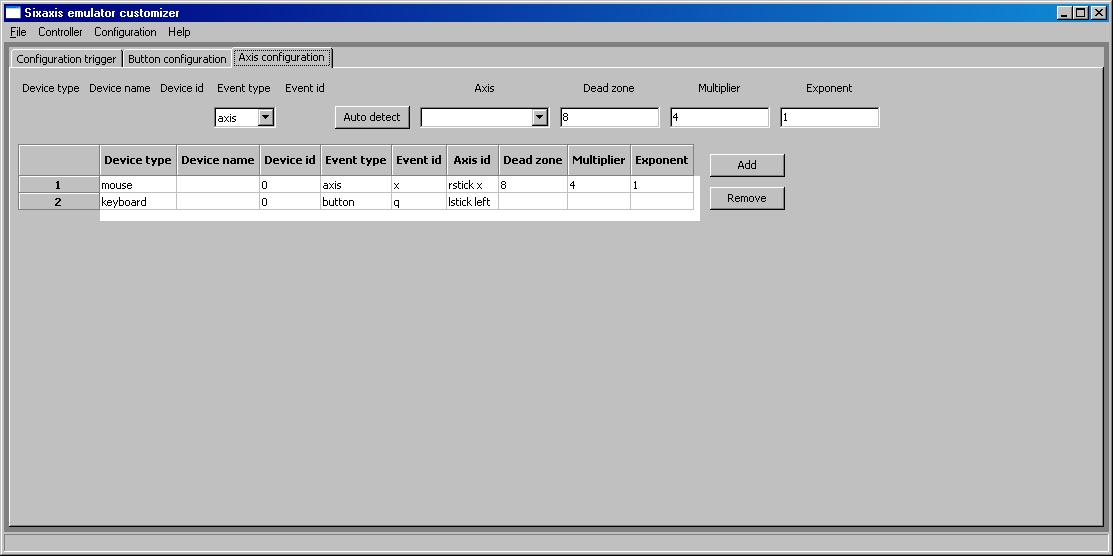
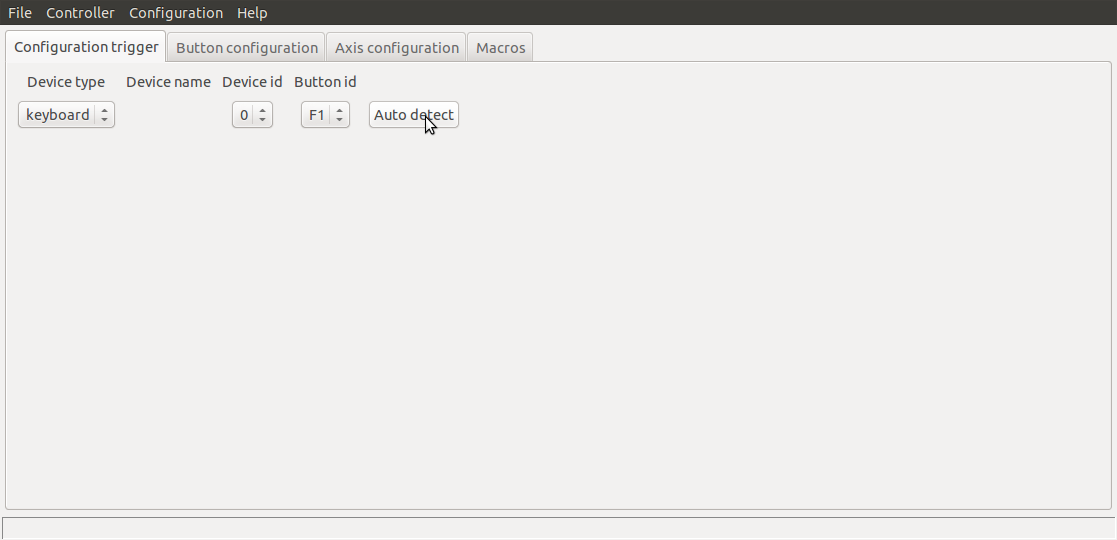
Dieses Tutorial ist nicht mehr aktualisiert. Das neue Tutorial ist hier : Link.
[spoiler]cool&fast aus www.gtrp.de hat diese Ãœbersetzung geschrieben (danke!).
Einführung
Diese Anleitung erklärt, wie man die PS3 über eine Tastatur oder Maus, welche an einen PC angeschlossen sind steuert.
Der PC muss mit Linux laufen und ein Bluetooth Dongle besitzen.
Diese Sixaxis Emulator war zuerst von Jim Paris geschrieben. Ich habe einige Änderungen gemacht.
Voraussetzung
* UBUNTU 10.04 oder später (Kann hier gratis UBUNTU Download heruntergeladen werden)
* Ein Sixaxis Controller, welcher schon an der (zu steuernden) PS3 benutzt wurde
* Ein Bluetooth Dongle mit einem Chip, auf welchem BDADDR (Bluetooth Geräte Adresse) geändert werden kann. Wenn du die Anleitung durchspielst, merkst du automatisch, ob dein Dongle unterstützt wird.
Es gibt auf ebay günstige Dongles. Schaue nach einem Dongle mit dem Keyword CSR und EDR.
Wichtig
Du machst diese Änderungen auf eigenes Risiko. Ich bin nicht verantwortlich für Schände, die an deiner PS3 oder deinem PC entstehen.
Vor dem Starten…
* Entferne alle USB und/oder Bluetooth Anschlüsse am PC, oder deaktiviere sie.
* Versuche nicht, den Sixaxis Emulator und den Sixaxis Controller zur selben Zeit zu verwenden und setze die BDADDR zurück, wenn Du den Sixaxis Emulator nicht mehr verwendest.
Die Anleitung ist geschrieben für UBUNTU gestartet von der CD, es wird nichts auf der Festplatte gespeichert.
Nachdem Schritt 1 und 2 der folgenden Anleitung erfolgreich gemacht wurden, können bei einem Neustart des Sixaxis Emulators von der CD die folgenden Schritte 3 und 4 mit einem Skript ausgeführt werden.
Brenne das heruntergeladene UBUNTU auf eine CD und starte den PC von der UBUNTU CD…
Schritt 1
Finde die Bluetooth Adressen der PS3 und des Sixaxis-Controllers heraus:
Verbinde den Sixaxis Controller mit dem USB Kabel mit dem PC.
Starte das Terminal-Fenster (Alt+F2), oder via Anwendugen/Zubehör/Terminal und gib die folgenden Befehle genau so ein (am besten via copy/paste):
sudo apt-get install libusb-dev
wget http://diyps3controller.googlecode.com/svn/trunk/sixutils/sixaddr.c
gcc -o sixaddr sixaddr.c -lusb
sudo ./sixaddr
Nun wird dir folgendes angezeigt:
Current Bluetooth master: XX:XX:XX:XX:XX:XX
Current Bluetooth Device Address: YY:YY:YY:YY:YY:YY
“Current Bluetooth master” ist die Bluetooth Adresse der PS3 (Schreibe sie auf, sie wird im Schritt 4 benötigt!)
“Current Bluetooth Device Address:” ist die Bluetooth Adresse des Sixaxis Controllers (Schreibe sie auf, sie wird im Schritt 2 benötigt!)
Entferne den Sixaxis Controller vom PC. Er sollte ausschalten.
Schritt 2
Modifiziere die Bluetooth Adresse des PC Bluetooth Dongels, gib dazu die folgenden Befehle im Terminal-Fenster genau so ein (am besten via copy/paste):
sudo apt-get install libdbus-1-dev libglib2.0-dev
wget http://www.kernel.org/pub/linux/bluetooth/bluez-4.63.tar.gz
tar xzvf bluez-4.63.tar.gz
cd bluez-4.63
./configure –enable-test
make
Wenn gefragt wird, nicht installieren!
cd test
./bdaddr
Nun wird dir folgendes angezeigt:
Manufacturer: Cambridge Silicon Radio (10)
Device Address: 01:02:03:04:05:06
Schreibe die rote Zahlenfolge auf, damit du sie zurücksetzen kannst, wenn du den Emulator nicht mehr benötigst.
sudo ./bdaddr ZZ:ZZ:ZZ:ZZ:ZZ:ZZ
Ersetze ZZ:ZZ:ZZ:ZZ:ZZ:ZZ mit der der Zahlenkombination aus Current Bluetooth Device Address: YY:YY:YY:YY:YY:YY aus dem ersten Schritt.
Entferne den Bluetooth Dongel und schliesse ihn wieder an.
./bdaddr
Manufacturer: Cambridge Silicon Radio (10)
Device Address: ZZ:ZZ:ZZ:ZZ:ZZ:ZZ
Kontrolliere, dass die ZZ-Zahlenfolge den von dir eingegebenen Wert hat. Sofern da so ist, gehe zu Schritt 3. Andernfalls wiederhole den Schritt.
sudo ./bdaddr ZZ:ZZ:ZZ:ZZ:ZZ:ZZ
Ersetze ZZ:ZZ:ZZ:ZZ:ZZ:ZZ mit der der Zahlenkombination aus Current Bluetooth Device Address: YY:YY:YY:YY:YY:YY aus dem ersten Schritt.
Nun, versuche einen Softreset:
sudo hciconfig hci0 reset
Damit wird die Bluetooth Adresse NICHT permanet geändert. Änderungen und Softreset müssen jedes Mal wiederholt werdn, wenn der PC neu gestartet wird oder der Dongel entfernt und wieder eingesteckt wird.
Bis jetzt wissen wir nicht, ob es funktioniert. Um dies festzustellen, führe die folgenden Schritte aus:
Schritt 3
Erstelle den Sixaxis Emulator Server und Client, starte ein Terminal-Fenster (Alt+F2), oder via Anwendugen/Zubehör/Terminal und gib die folgenden Befehle genau so ein (am besten via copy/paste):
cd ~
sudo apt-get update
sudo apt-get install libbluetooth-dev libsdl1.2-dev subversion
svn checkout -r 134 http://diyps3controller.googlecode.com/svn/trunk/sixaxis-emu/ diyps3controller-read-only
Wichtig: Der Leerschlag vor diyps3controller-read-only muss sein!
cd diyps3controller-read-only
make
Schritt 4
Starte den Server und den Client
Schalte die PS3 in den Standby Mode, die rote Lampe leuchtet
sudo ./emu ZZ:ZZ:ZZ:ZZ:ZZ:ZZ
Ersetze ZZ:ZZ:ZZ:ZZ:ZZ:ZZ mit der der Zahlenkombination aus Current Bluetooth master: XX:XX:XX:XX:XX:XX aus dem Schritt 1.
Die PS3 sollte jetzt starten!
Wenn du eine ‘Connected’ Meldung sieht, läuft es und du kannst mit der Anleitung fortfahren.
Lasse das alte Terminal-Fenster laufen und starte ein neues Terminal-Fenster (Alt+F2), oder via Anwendugen/Zubehör/Terminal und gib die folgenden Befehle genau so ein (am besten via copy/paste):
cd ~/diyps3controller-read-only
./emuclient
Jetzt kannst du die PS3 via Tastatur steuern!!! Um den Emulator zu schliessen, drücke einfach Escape (ESC).
Schritt 5
Definiere, welche Tastatur-Tasten welche PS3-Controller Funktionen haben.
Ich habe eine azerty Tastatur verwendet, so ist es ratsam, das Mapping zu ändern. Dazu ändert man die Datei emuclient.c.
cd ~/diyps3controller-read-only
gedit emuclient.c
Ein Editor öffnet sich, jetzt kannst du deine Änderungen machen. Cool&fast empfehlt diese Änderungen:
void key(int sym, int down)
{
int index = -1;
switch (sym) {
case SDLK_v: index = sb_ps; break;
case SDLK_i: index = sb_triangle; break;
case SDLK_m: index = sb_cross; break;
case SDLK_k: index = sb_circle; break;
case SDLK_j: index = sb_square; break;
case SDLK_c: index = sb_select; break;
case SDLK_b: index = sb_start; break;Ohne diesen Befehl werden die Modifikationen im emuclient.c nicht wirksam!
#ifndef WIN32
case SDLK_a: down?move_x(-127):move_x(0); break;
case SDLK_w: down?move_y(-127):move_y(0); break;
#else
case SDLK_d: down?move_x(-127):move_x(0); break;
case SDLK_r: down?move_y(-127):move_y(0); break;
#endif
case SDLK_y: down?move_y(127):move_y(0); break;
case SDLK_s: down?move_x(127):move_x(0); break;
Speichere die Datei und führe folgenden Befehl im Terminal aus:
make
Nach diesen Änderungen führen die folgenden Tasten die folgenden PS3 Befehle aus:
* w = pfeil rauf / a = pfeil links / s = pfeil rechts / y = pfeil runter
* i = dreieck / j = quadrat / m = x / k = kreis
* c = set / v = ps / b = start
* esc = schliesst den Emulator
Schritt 6
Endlich: Tastatur Makros
Nun ist es möglich, eigene Makros zu schreiben und laufen zu lassen.
Folgende Befehle stehen zu Auswahl:
* key down [Taste gedrückt]
* key up [Taste losgelassen]
* key press (= key down + delay + key up) [Taste gedrückt + kurz warten + Taste loslassen]
* delay (unit = ms) [Pause für Anzahl Millisekunden, 1000ms = 1 Sekunde]
Jedes Makro ist eine Datei. Ein Muster ist in macro_example.txt gespeichert.
gedit macro_example.txt
Zeigt folgendes Resultat im Editor:
#Defines the action that triggers the macro execution
MACRO F1
#Performs a keystroke (key down + delay 50ms + key up)
KEY e
#Sleep 50ms
DELAY 50
#Perform a key down
KEYDOWN SPACE
#Sleep 50ms (minimum delay between KEYDOWN and KEYUP)
DELAY 50
#Perform a key up
KEYUP SPACE
Kommentarzeilen beginnen mit einem #.
Jedes neue Makro muss in der Datei macros.txt eingetragen werden.
gedit macros.txt
Alle Tasten können in einem Makro verwendet werden. Eine komplette Übersicht kann in der Datei macro.c gefunden werden.
Viel Spaß![/spoiler]


